
3-D Printing Revolution
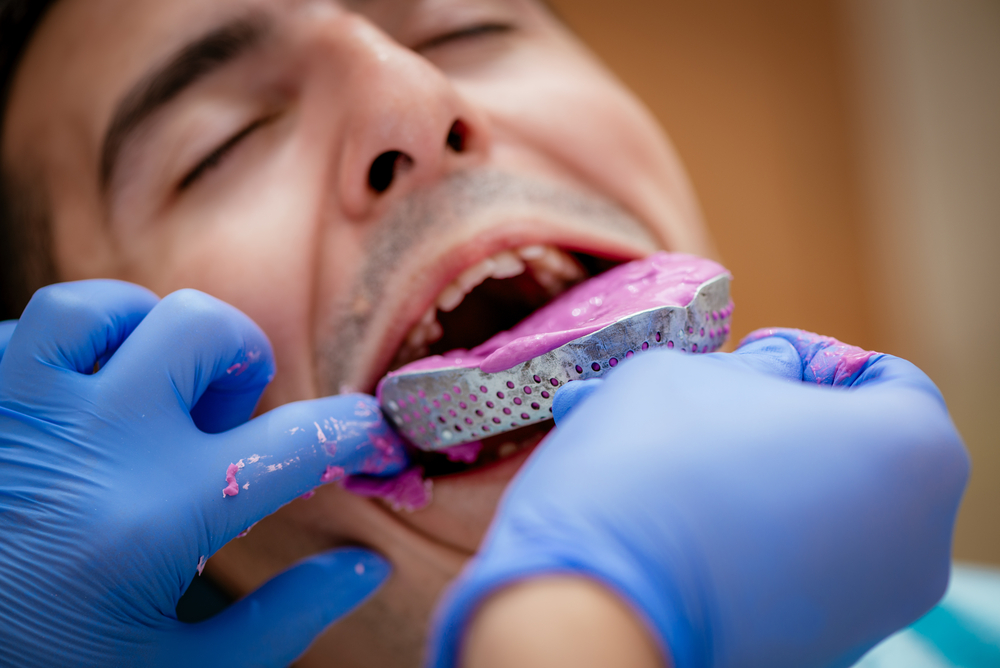
Pink. Gooey. Messy. Uncomfortable. If you associate these adjectives with orthodontic molds, then chances are you had braces when you were younger. Luckily, technology has come a long way in a relatively short time over the past decade and now a lot of the orthodontics industry is beginning to make the leap over to a digital treatment plan starting with 3-D printing.
Where It All Began
Let’s take a quick step back and dive into the beginning of this revolutionary technology within the orthodontics industry. 3-D technology to simulate tooth movement was first popularized in the 1990’s by AlignTechnology Inc. You may have heard of one of their most popular products: Invisalign. A company called Candent, developed one of the first intraoral scanners with the purpose of being used as a diagnostics tool. Align Technologies saw the potential of their 3-D technology when combined with Candent’s intraoral scanner and bought out Candent.
You may be thinking to yourself: “If this happened in the 90’s, why did this technology only become popular in the last decade?” Unfortunately, the price was too high, the scanning was too unreliable and the equipment was too big to be kept in a standard orthodontics office. As the years progressed, 3-D printers and intraoral scanners became more compact, accurate and affordable.
The Old Process for Clear Aligners
Step 1:
Take mold of the patient’s teeth. This is where that pink goop is used.
Step 2:
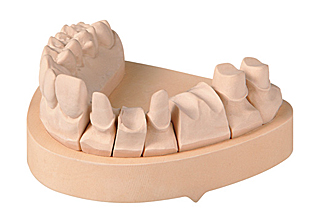
Create the model. A hardening liquid is poured into the mold to create the model of the patients teeth.
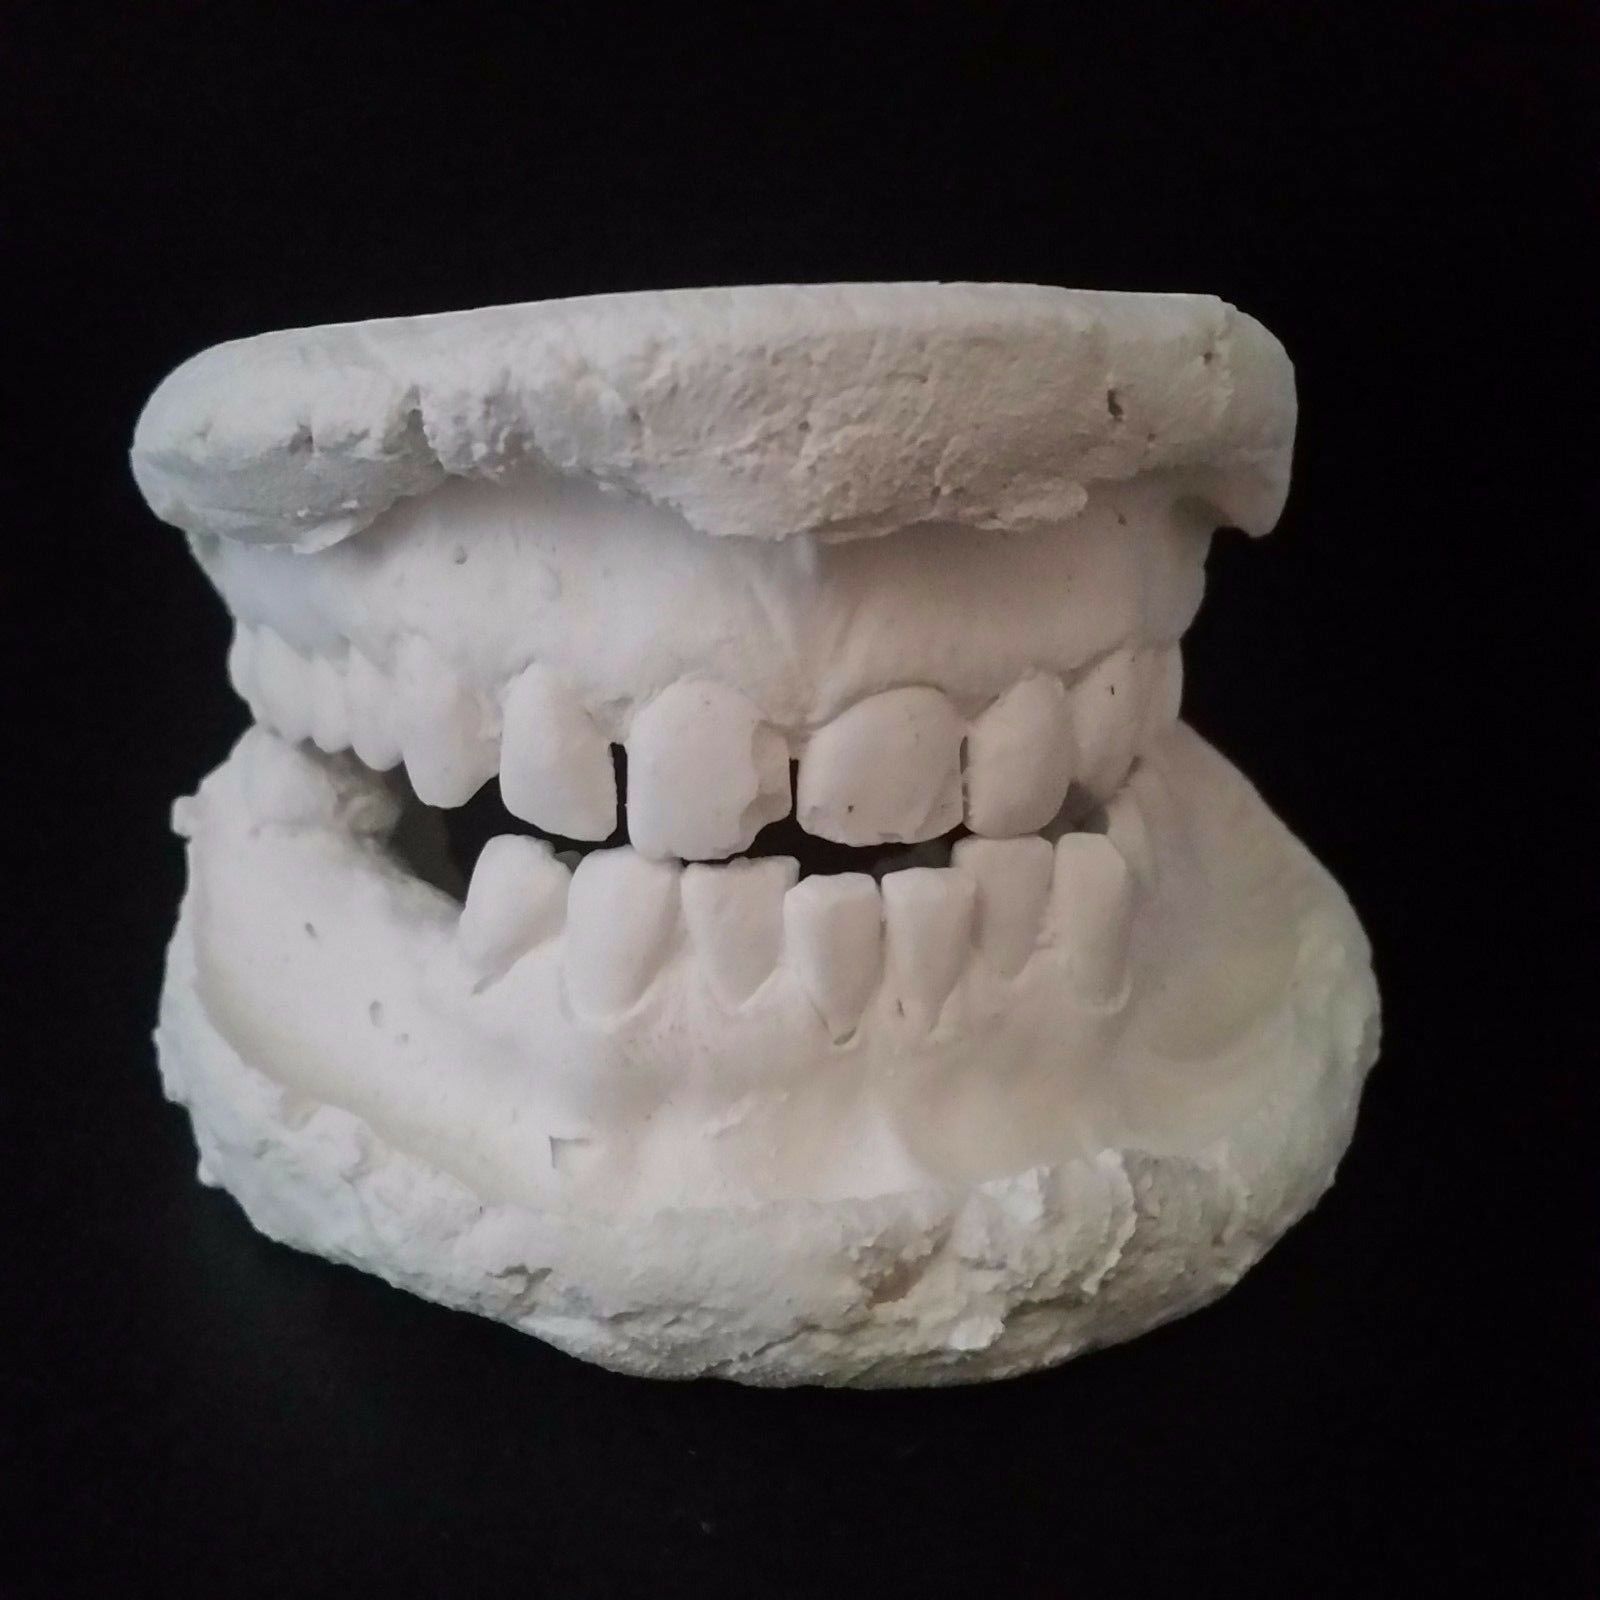
Step 3:
Wait. A half hour is required for the model to harden.

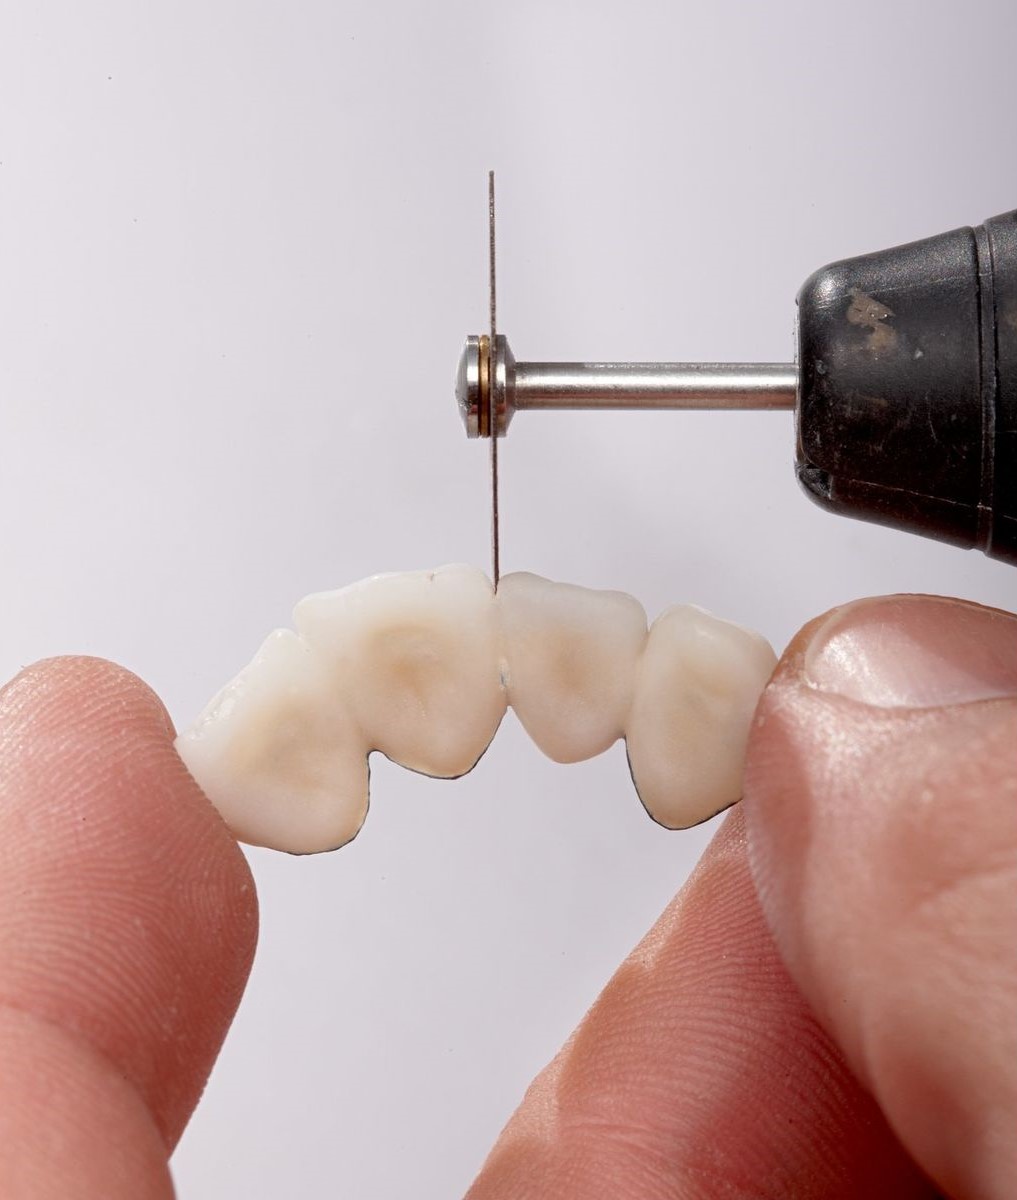
Step 4:
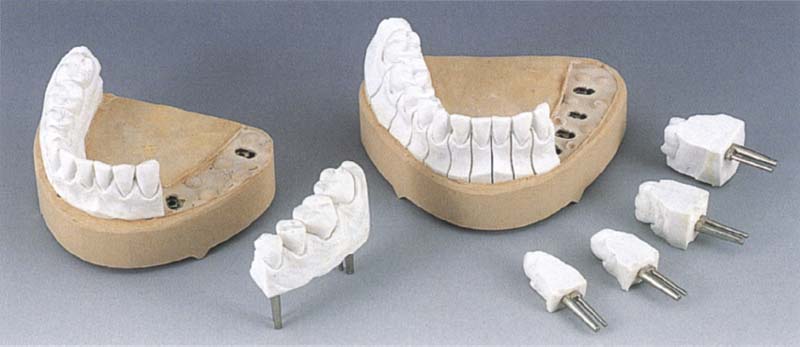
The teeth on the initial model are sawed into separate teeth.
Step 5:
The lab technician resets the teeth into straight position and sets them in wax.
Step 6:
The set-up model is sent back to the orthodontist for a review.
Step 7:
Orthodontist reviews the set-up and approves it. If the set up is unsatisfactory or needs revisions, the model is sent back to the lab technician for another set up.

Step 8:
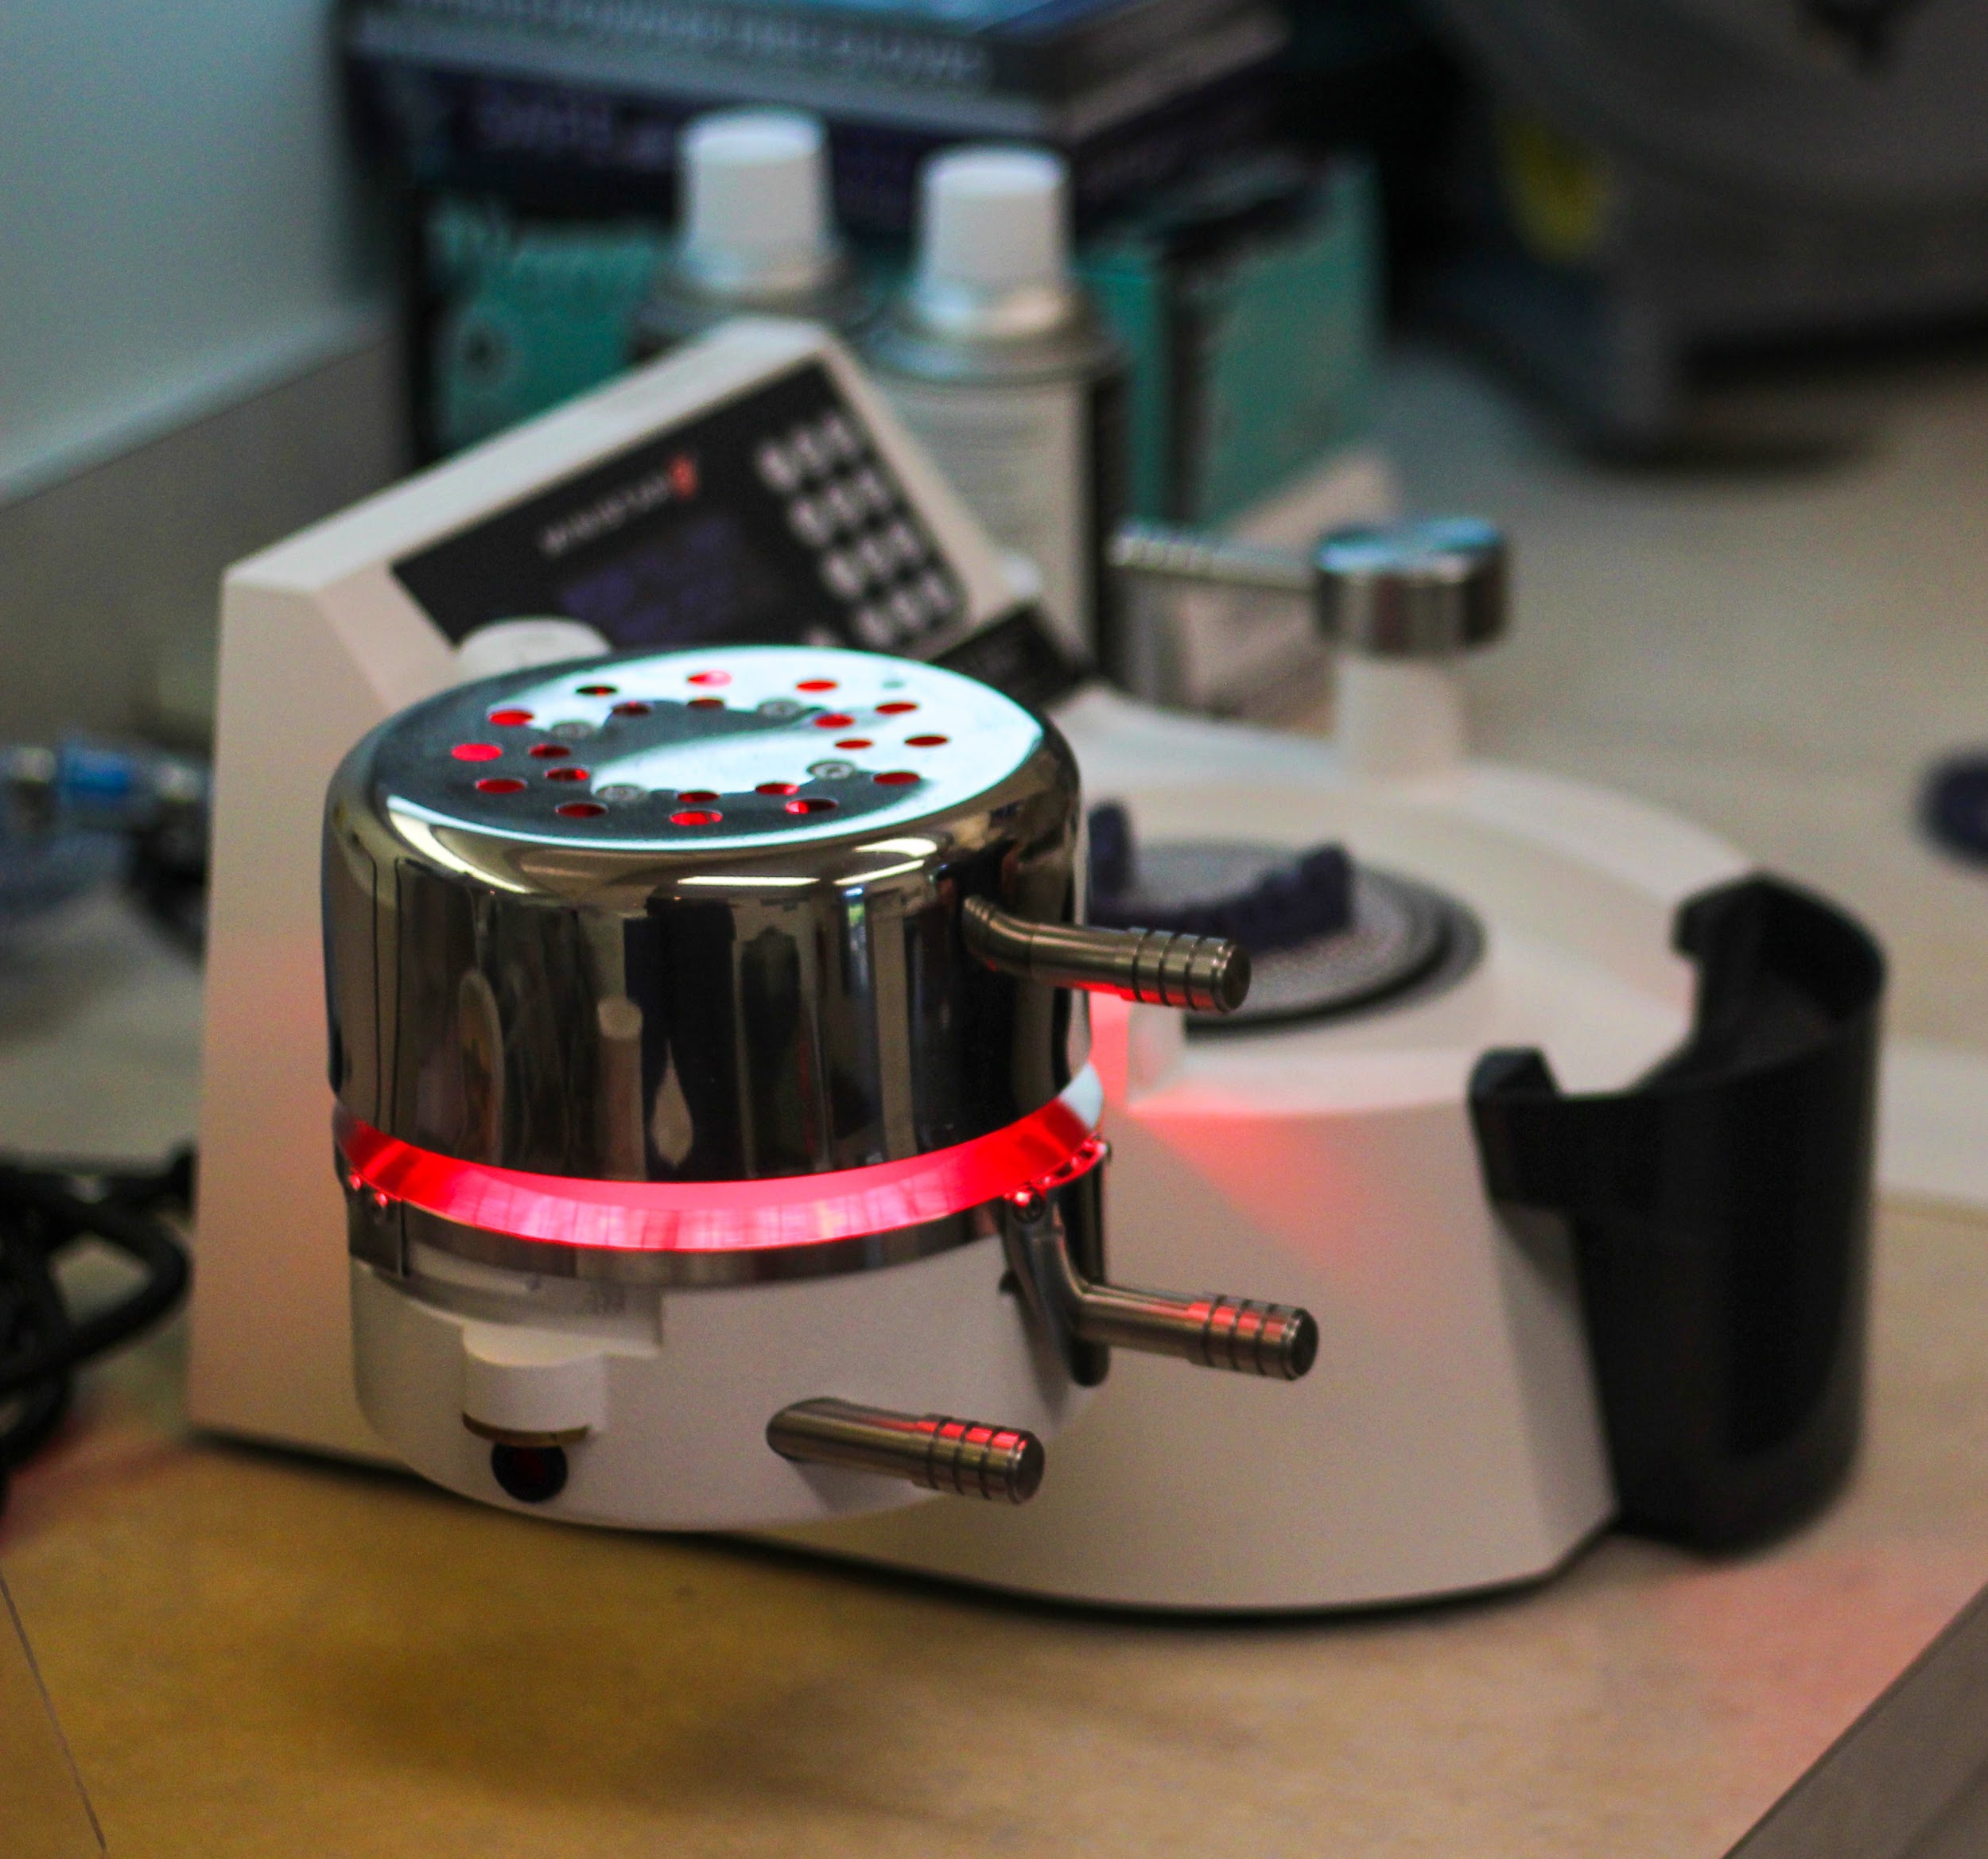
Pressure molding. Put the model into a pressure moulding machine to create the clear aligners.
Step 9:
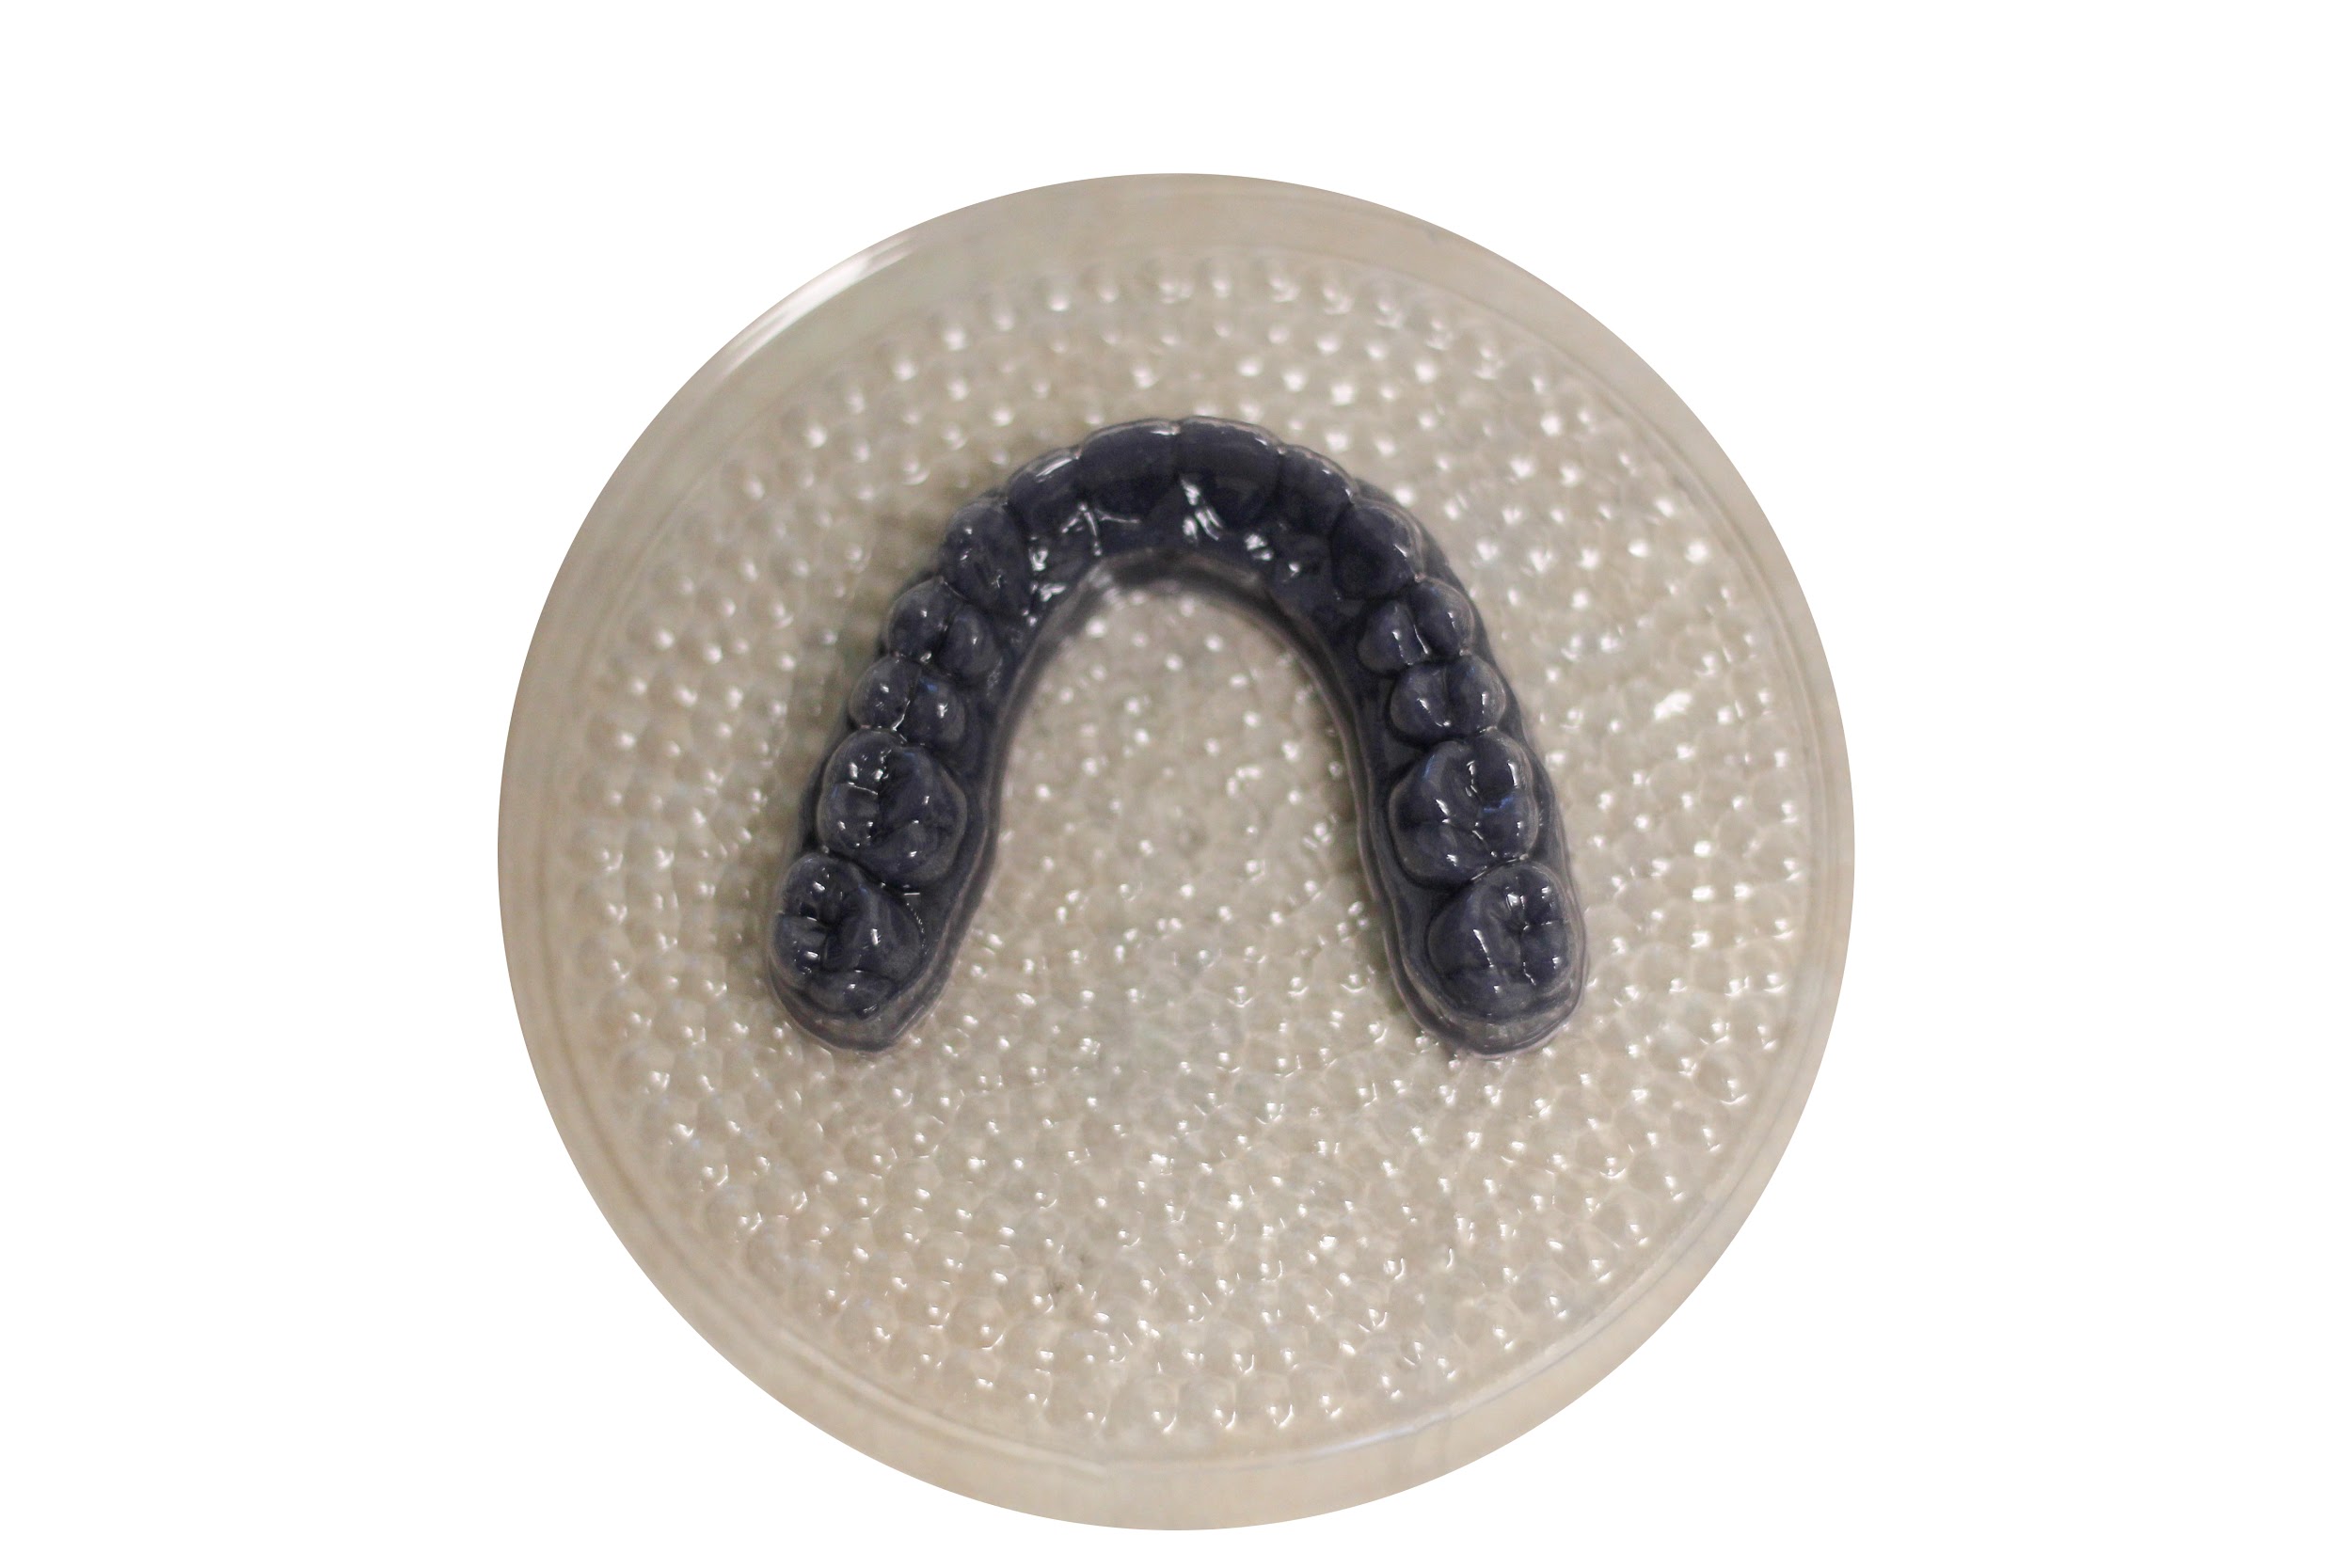
Cut and shape. The aligners will have excess plastic which will be needed to be cut and shaped.
As you can guess, this process is lengthy and prone to many errors. The technician may break or lose pieces of the model which means you have to start the process all over. Also, making more than two stages of movement is near impossible and every step is a huge jump for the patient, making the trays very uncomfortable for the patient.
The New Process for Clear Aligners
Step 1:
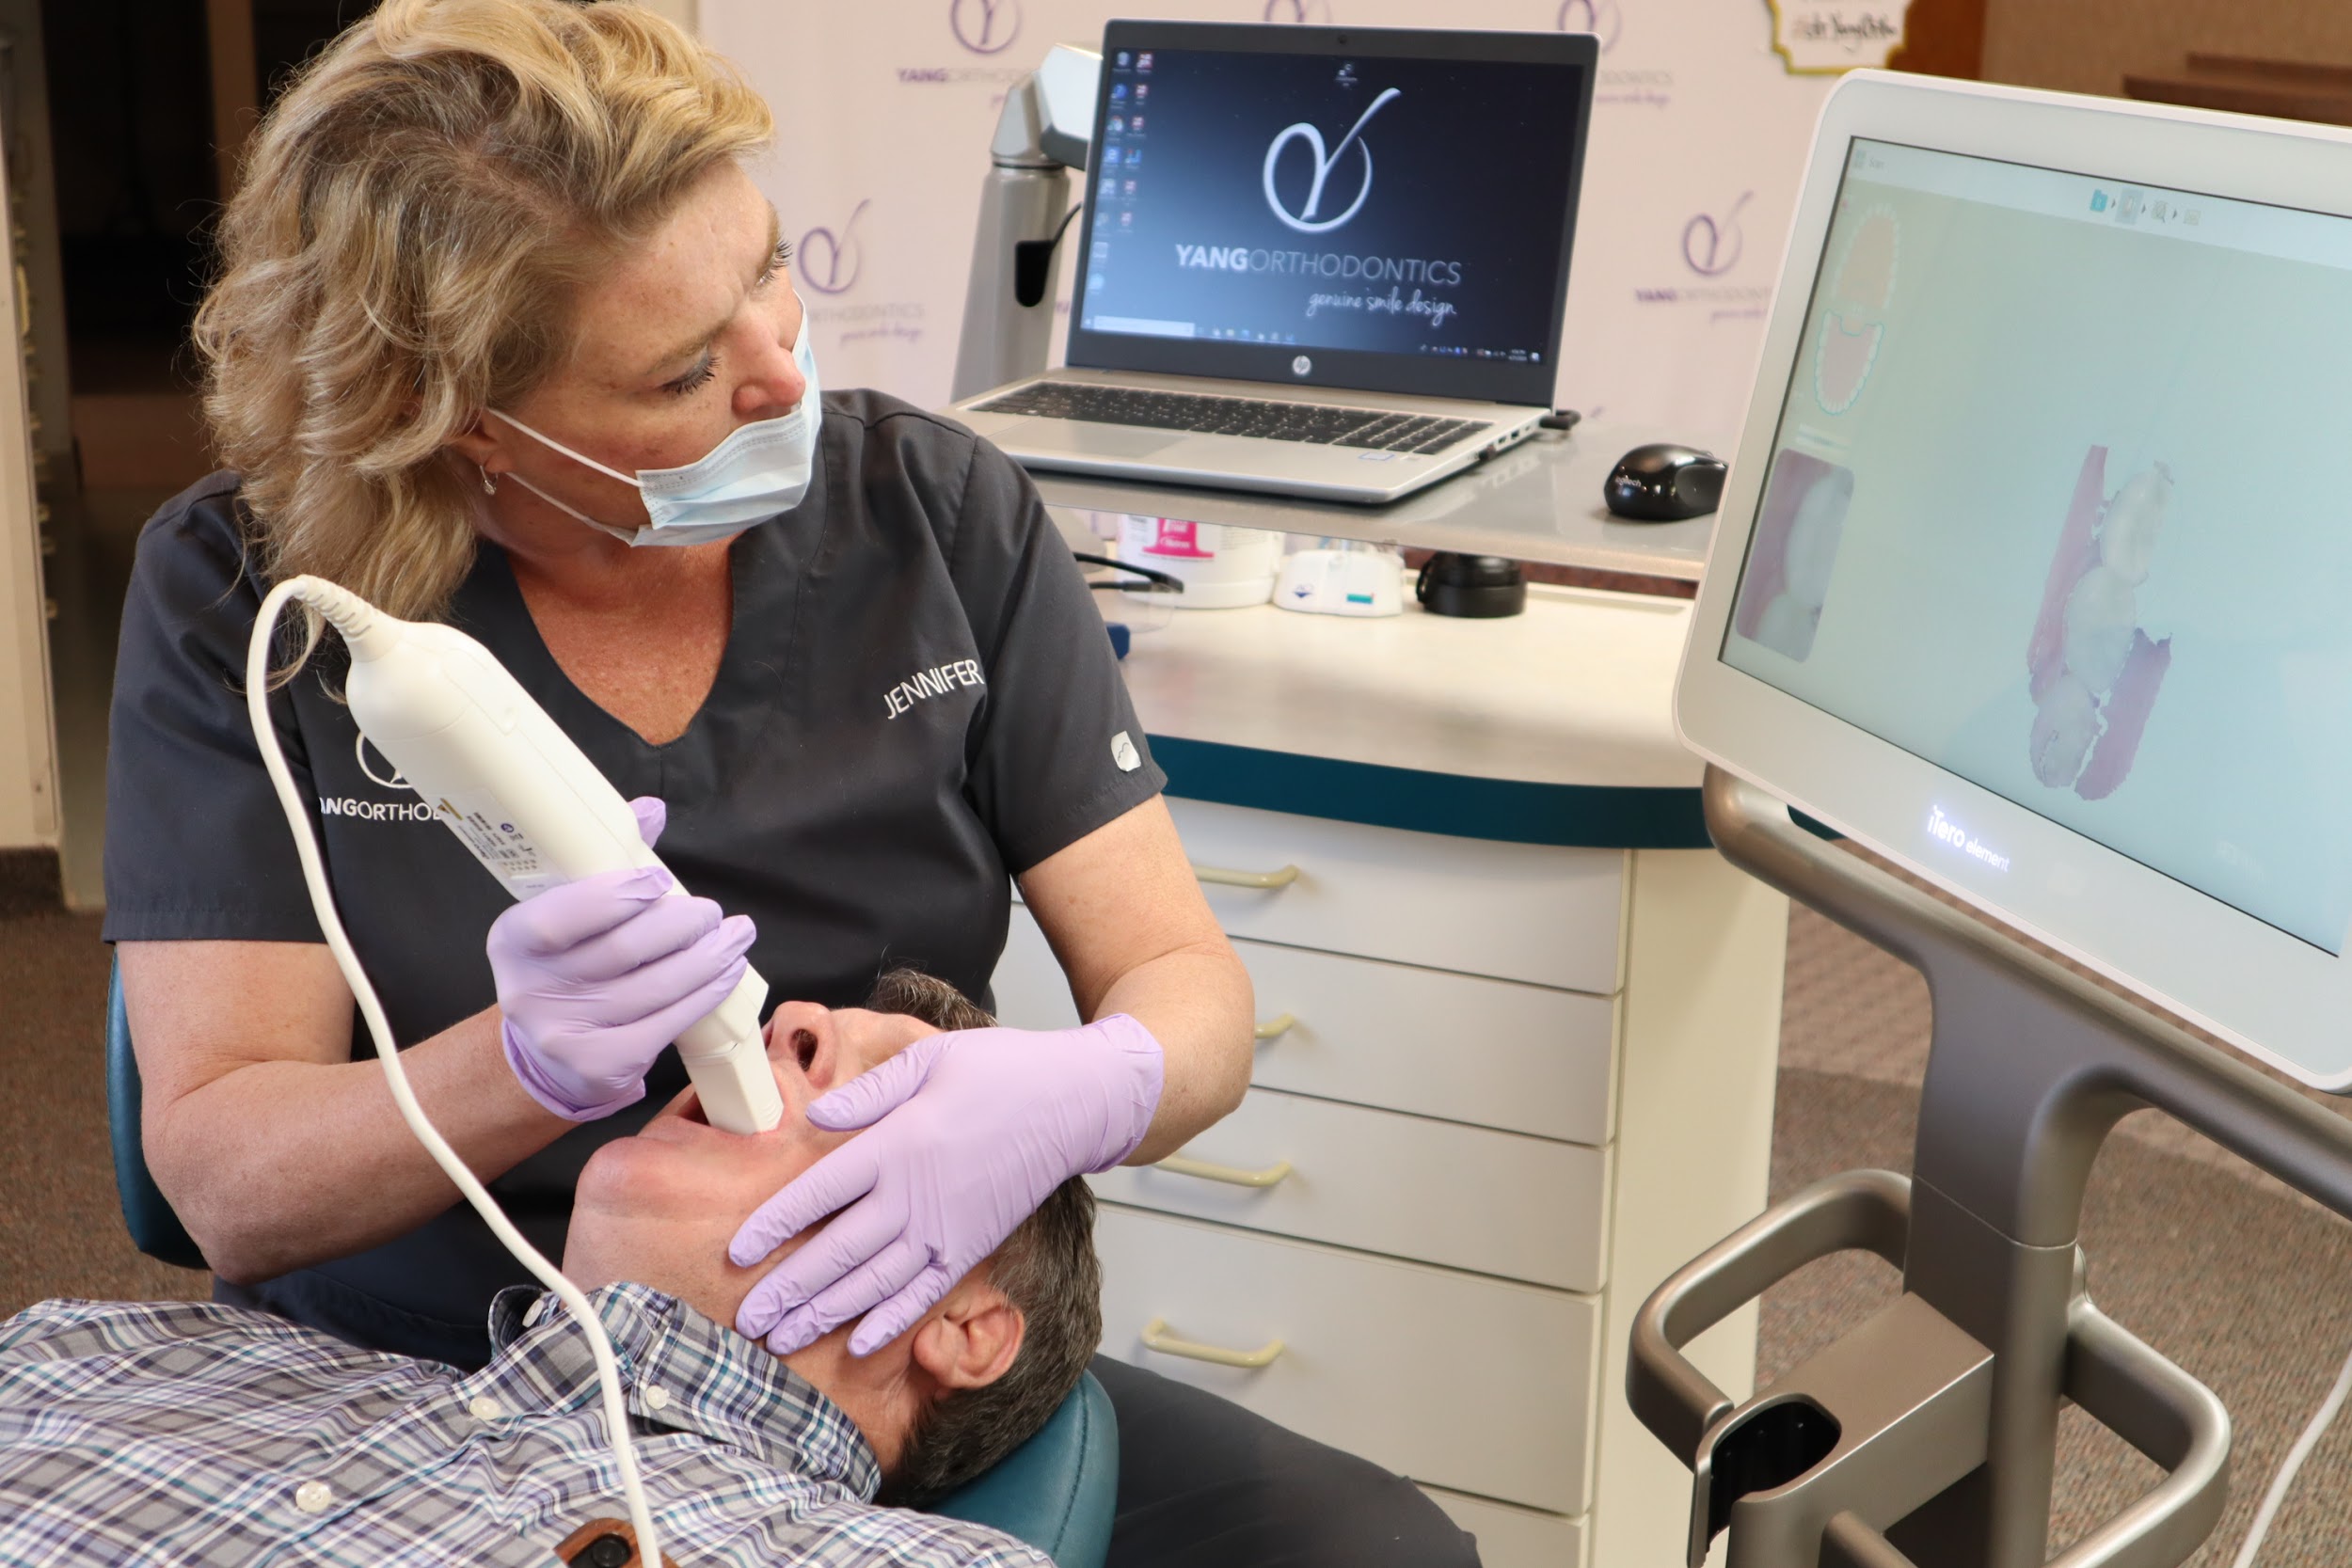
Take an intraoral scan of the patient’s teeth.
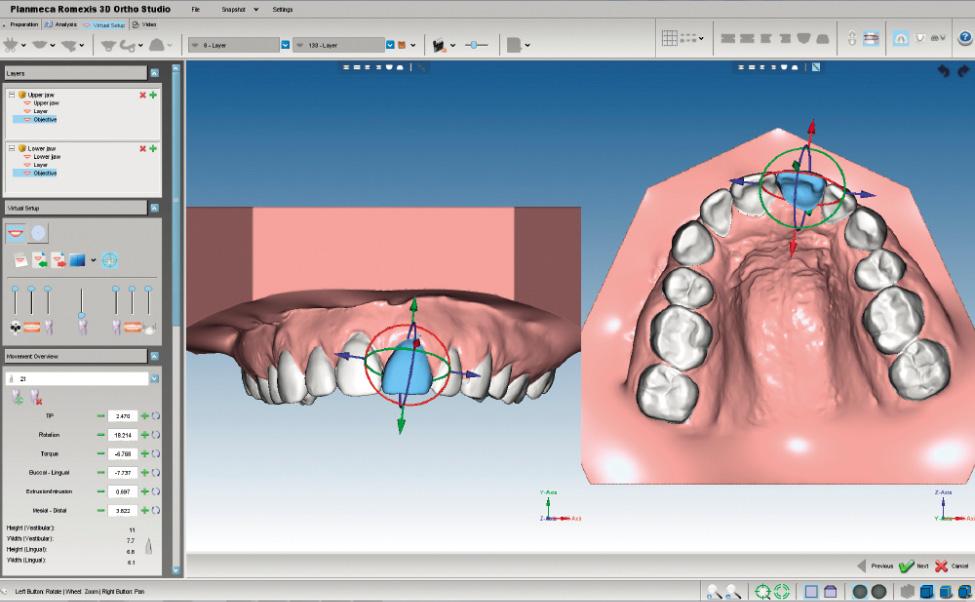
Step 2:
Shape up in CAD program. Teeth are segmented digitally rather than with a physical saw. Teeth are set up digitally into the final position. The movement is then staged to each movement according to the orthodontist’s prescription.
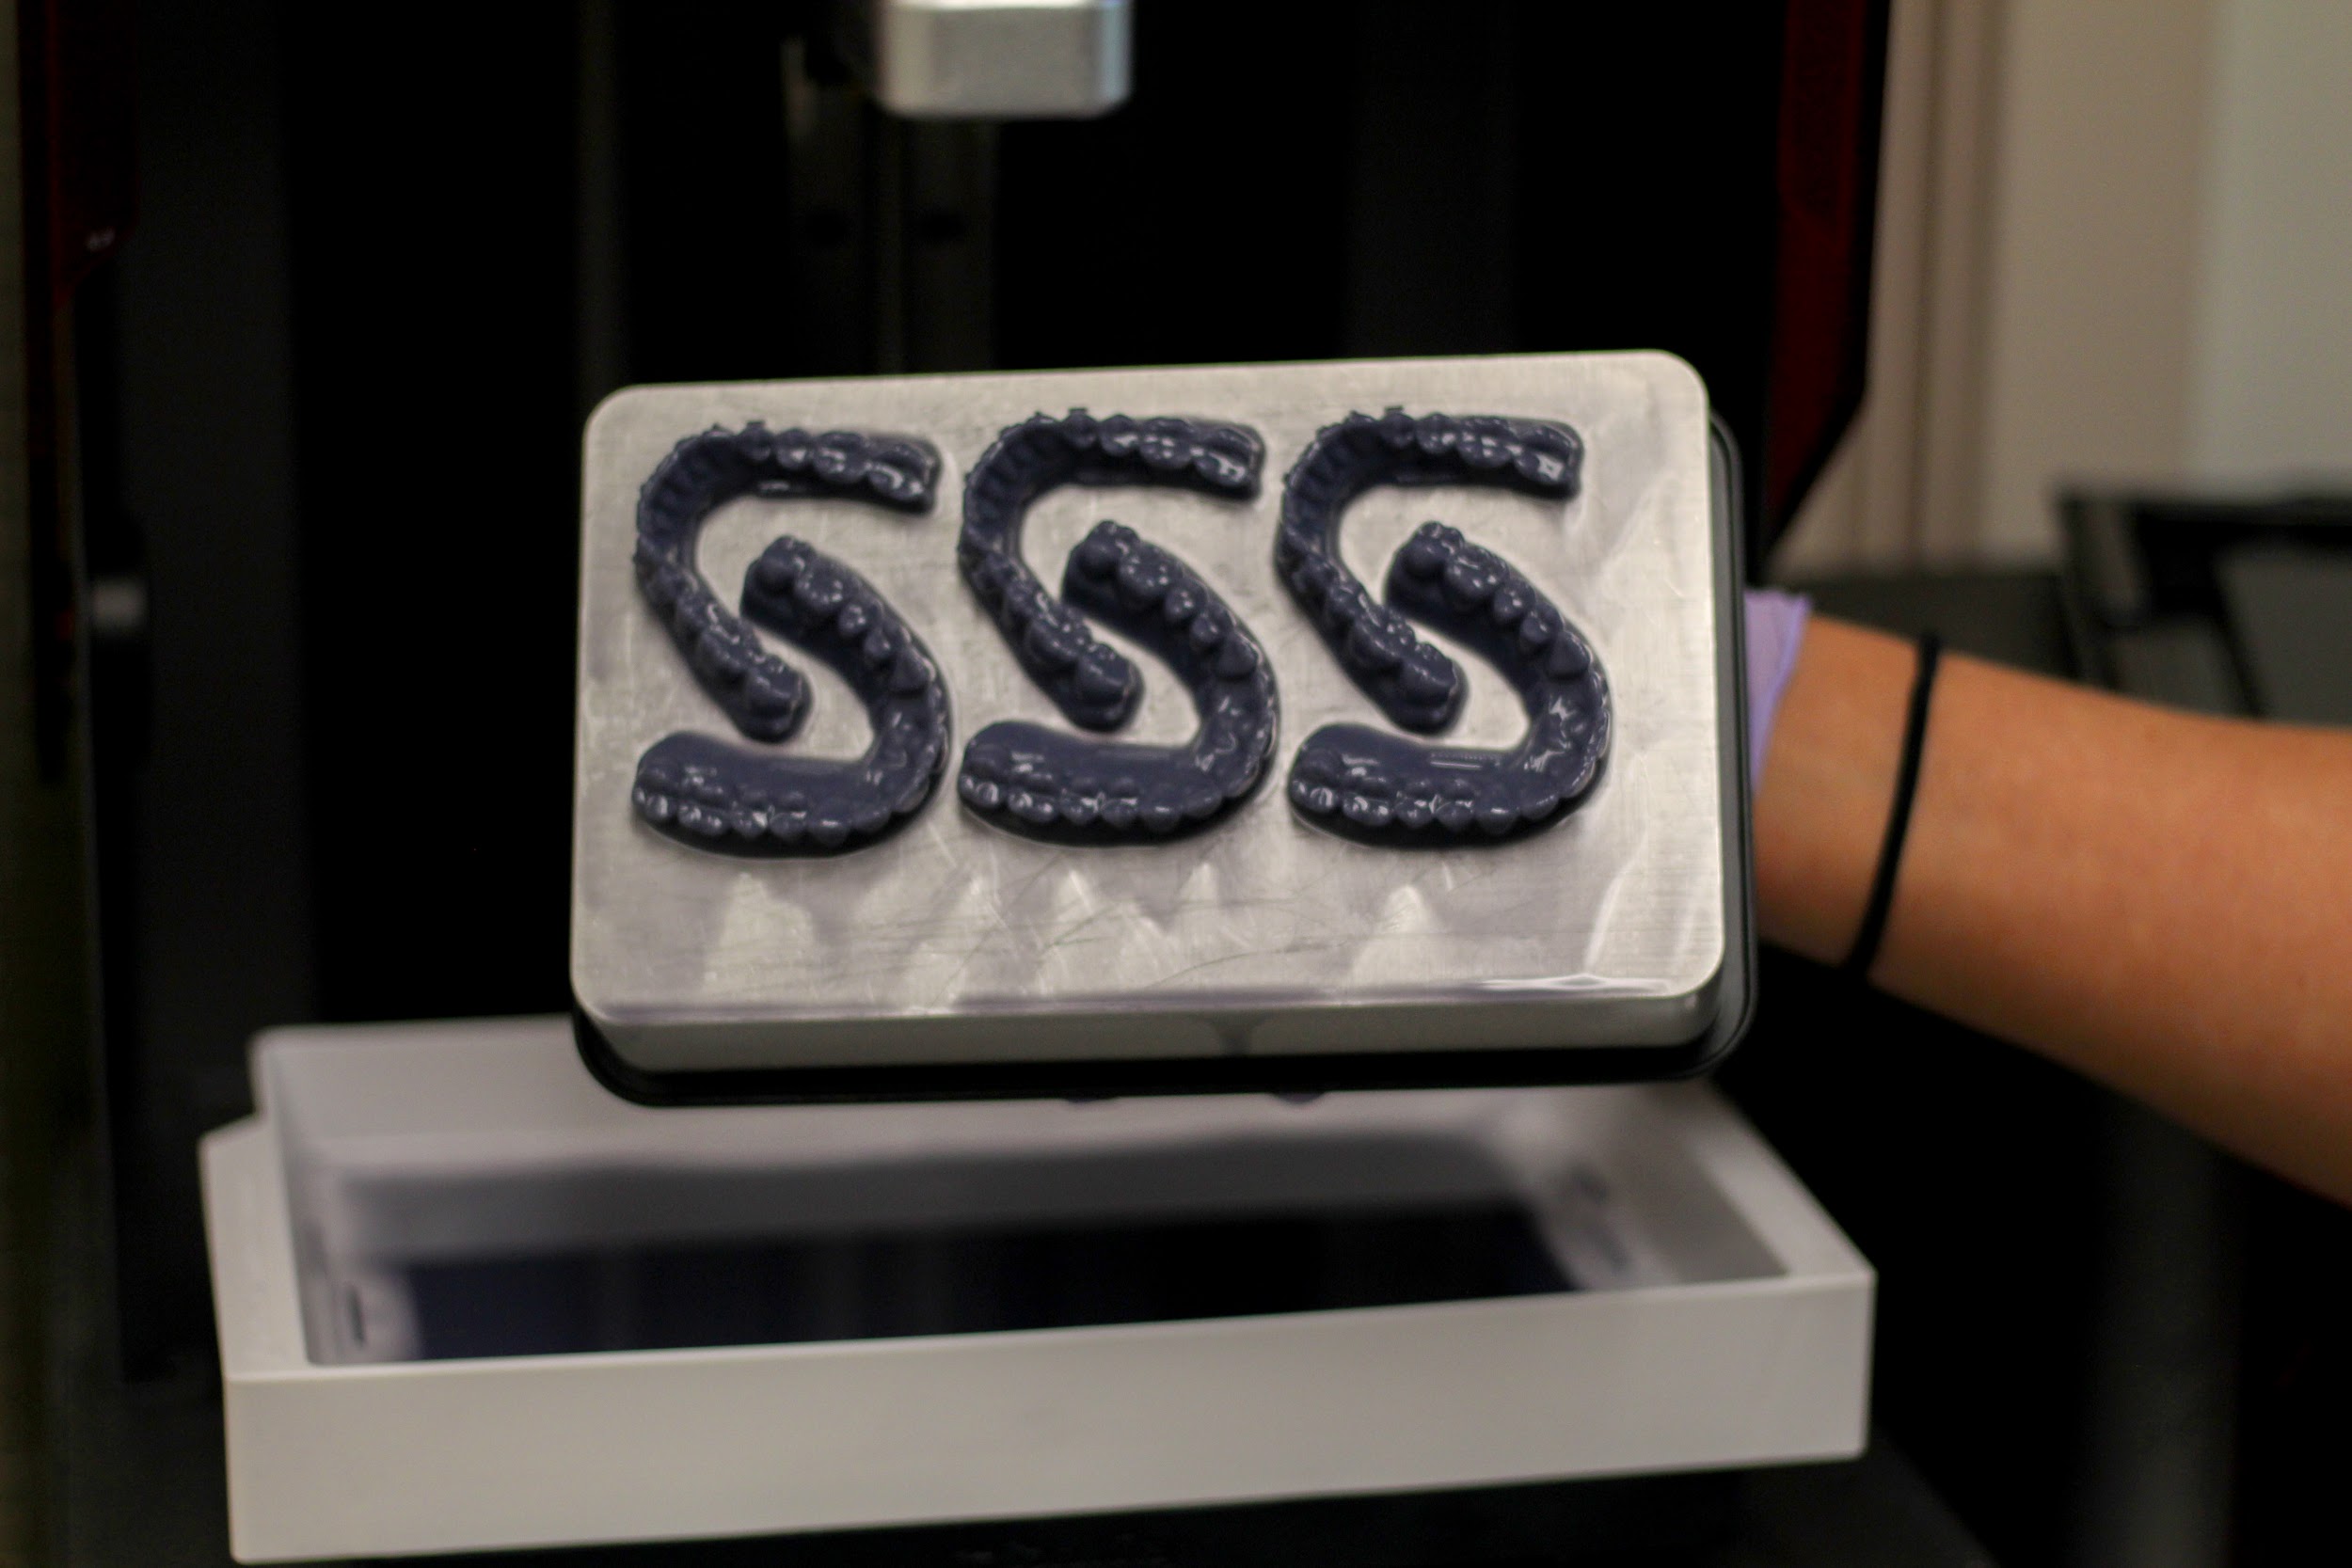
Step 3:
Print models. With the 3-D printer, the orthodontist is able to print out several models all in one batch, making the process more efficient.
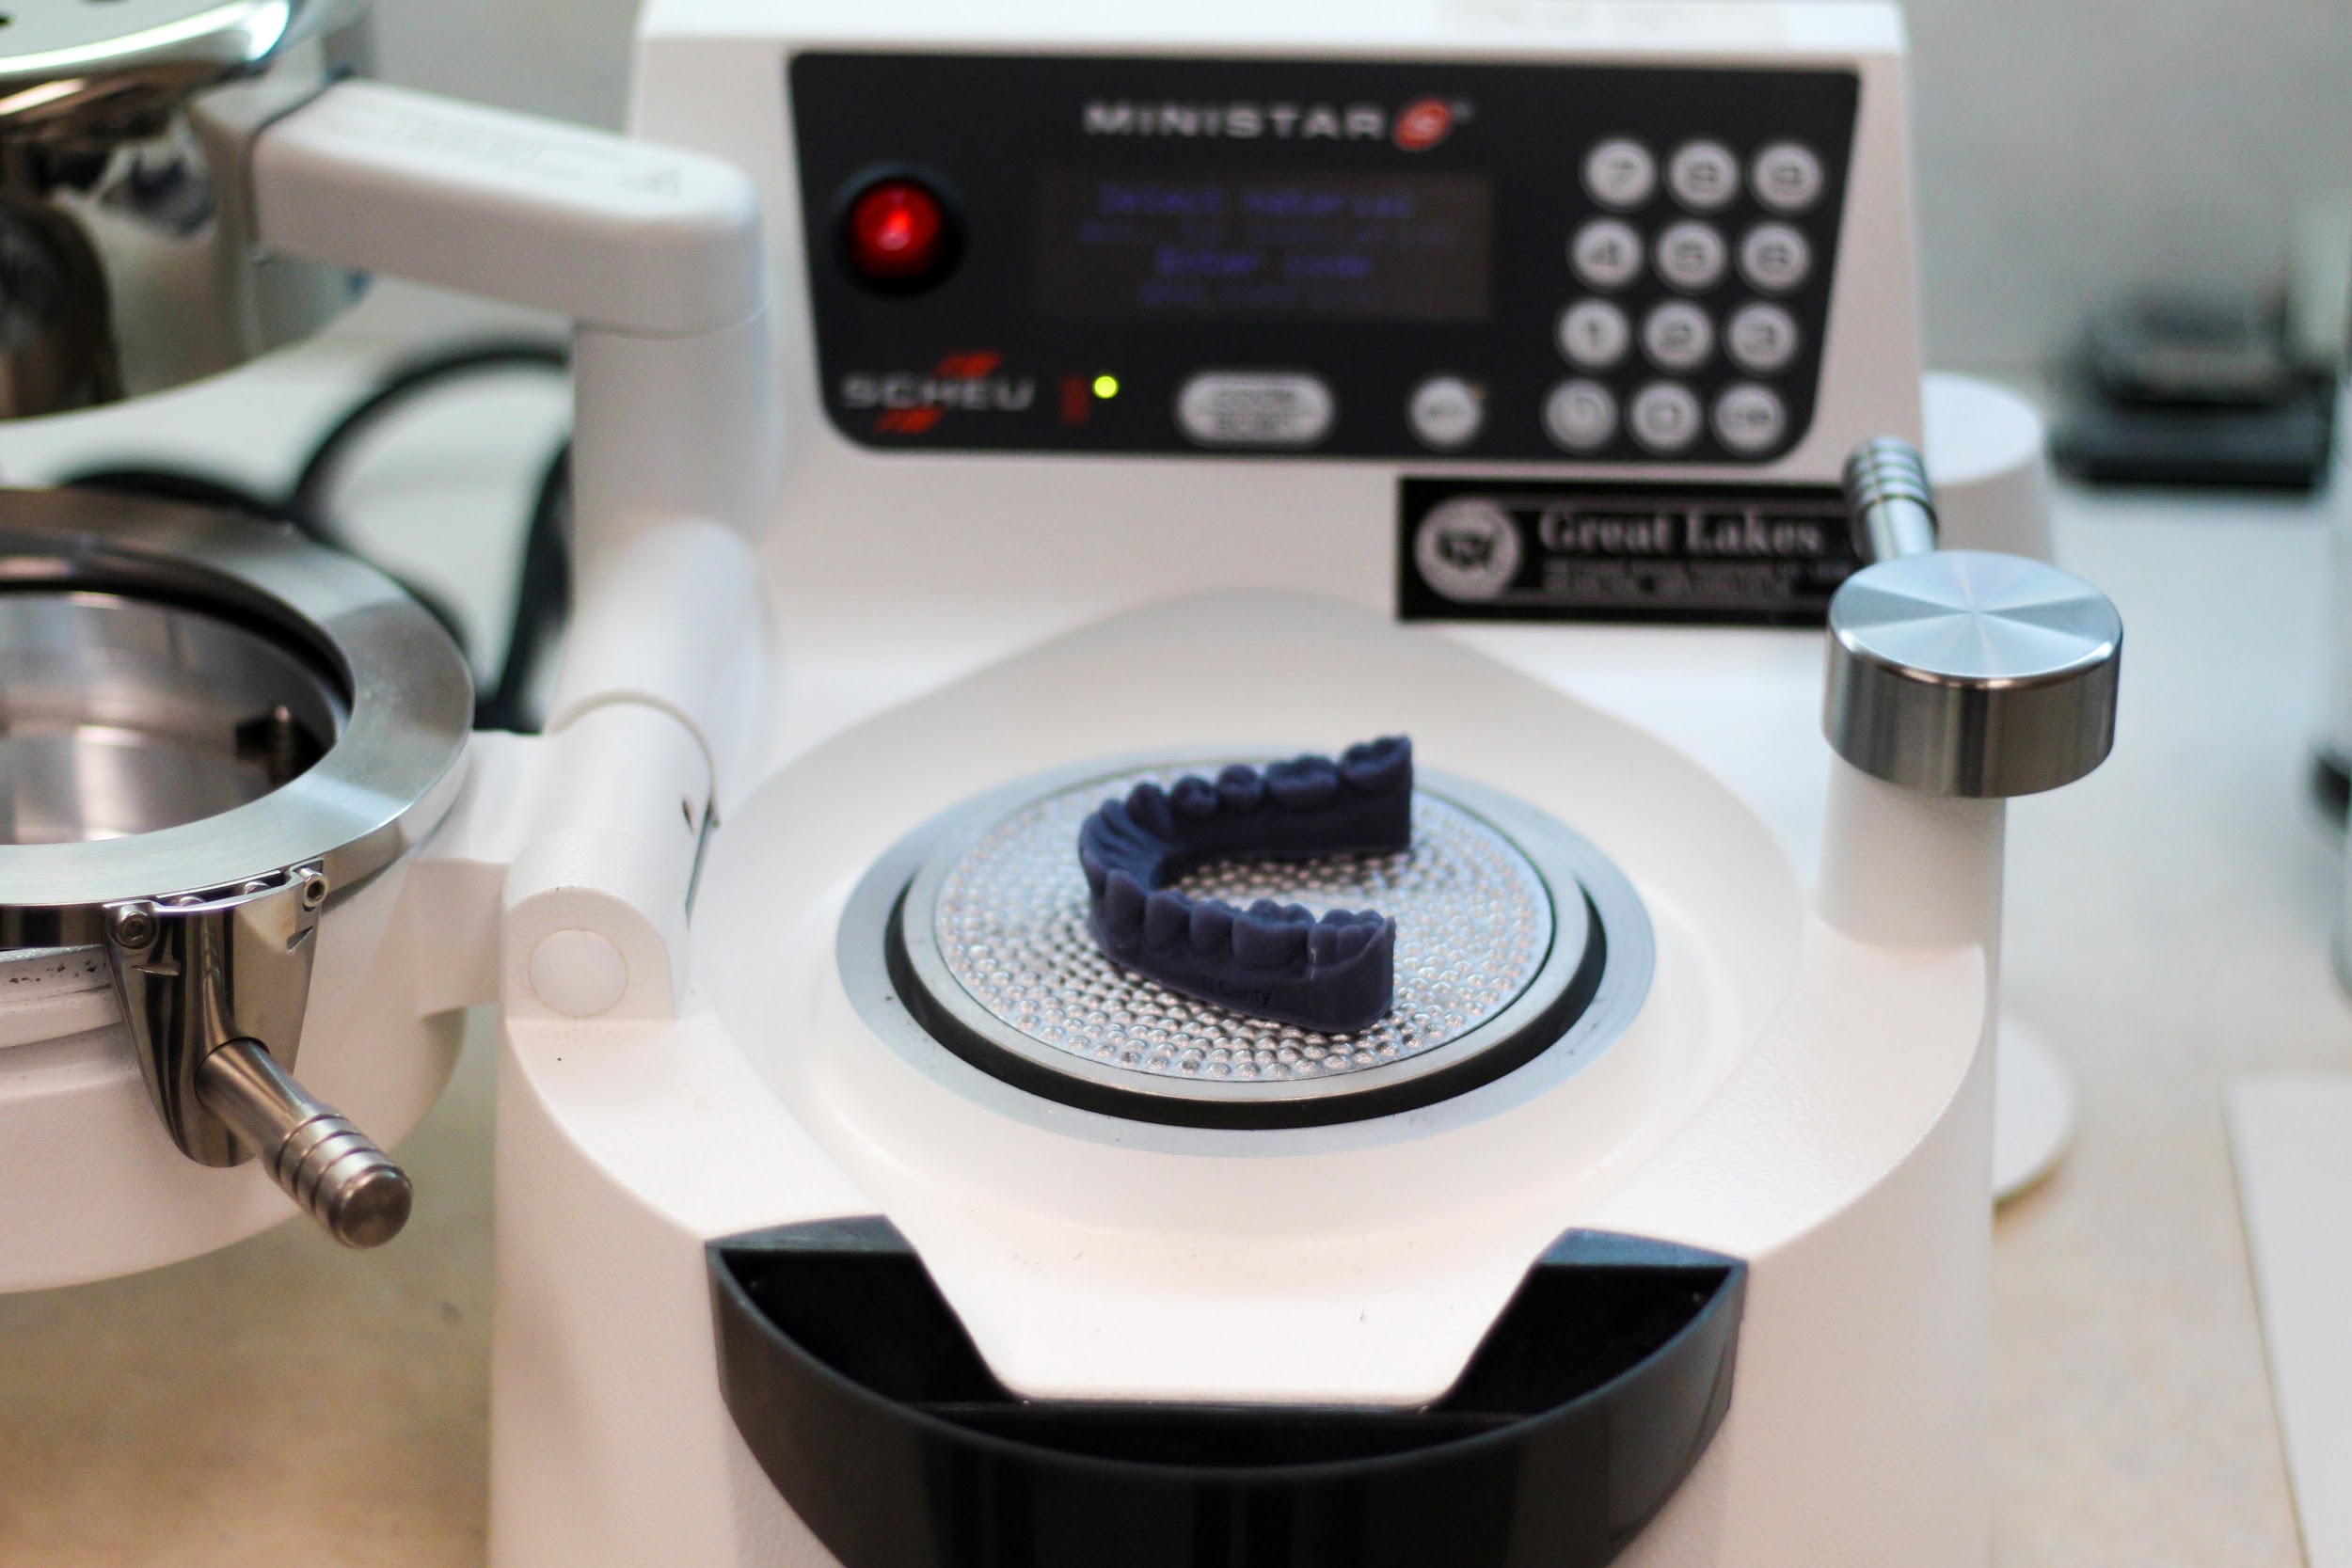
Step 4:
Pressure molding and trimming. Models are put into the pressure moulding machine to create the clear aligners that the patients will wear and trim them up for a comfortable fit.
For the following stages of the aligners the orthodontist simply uses the intraoral scanning program to make the most adjustments for a smooth progression, making the patients journey to a new smile much more comfortable.
Benefits for the Orthodontist:
Before an intraoral scanner, orthodontists would have to wait for the mold to settle and then measure each tooth manually. Now, they are able to save time by having everything be measured by the intraoral scanning program as well as be able to control the movement of the teeth more precisely. With an in house 3-D printer, orthodontists can save time and money when creating their own clear aligners.
Benefits for the Patient:
With an intraoral scanner, the scans can be created within 5 minutes. This means the patient can visually see their entire treatment plan on their initial consultation. The patient is also able to have a faster treatment due to more selectively controlling the movement of their teeth. On top of that, without those messy pink molds, the patient is able to have a much more comfortable experience.
Technology is a big part of the orthodontics industry and the patient experience. At Yang Orthodontics, we have invested in 3-D printing technologies as well as intraoral scanners in order to be able to provide a more efficient, effective and comfortable treatment for each one of our patients. If you want to learn more and see how we can help you, sign up for a today!